
Water Damage Restoration Process: A Step-by-Step Guide
Water intrusion is one of the most destructive and fast-acting hazards a property owner can face. Whether caused by a ruptured supply line, severe storm flooding, appliance malfunction, or hidden roof leak, untreated water compromises structural integrity and creates prime conditions for hazardous microbial growth within 24 to 48 hours.
Understanding the full water damage restoration process helps homeowners and commercial property managers respond swiftly, navigate insurance requirements, and ensure their building is returned to a safe, clean, and structurally sound state.
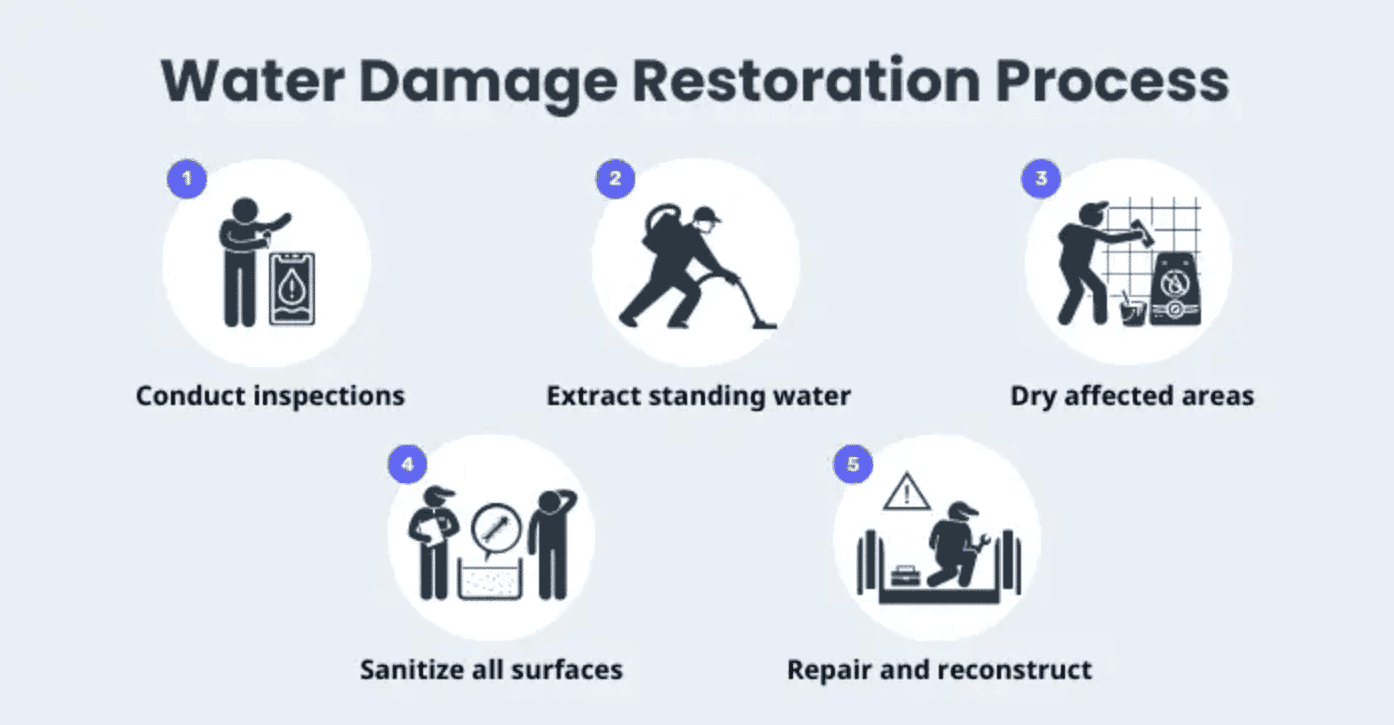
Summary: The 5 Stages of Water Damage Restoration
| Stage | Primary Objective | Key Equipment Used | Typical Duration |
| 1. Assessment & Inspection | Classify water category, map moisture perimeter, and document damage. | Moisture meters, infrared thermal cameras, hygrometers. | 1 to 3 hours |
| 2. Water Extraction | Remove standing and standing pooled water to prevent deep saturation. | Submersible pumps, truck-mounted vacuum units, wet vacuums. | 2 to 12 hours |
| 3. Structural Drying | Evaporate trapped moisture from framing, drywall, and subflooring. | Industrial centrifugal air movers, LGR dehumidifiers. | 3 to 5 days |
| 4. Sanitizing & Cleaning | Disinfect contaminated surfaces, deodorize air, and prevent mold growth. | EPA-registered antimicrobials, HEPA air scrubbers, foggers. | 1 to 2 days |
| 5. Reconstruction & Repair | Rebuild ruined drywall, flooring, trim, and structural framing. | Carpentry tools, drywall gear, flooring installation equipment. | Several days to weeks |
Water Damage Classification and Categories
Before any physical extraction begins, restoration professionals evaluate the environment using standardized protocols established by the Institute of Inspection, Cleaning and Restoration Certification (IICRC). Correct identification determines the safety gear required, the disposal protocols for porous materials, and the overall scope of remediation.
Categories of Water Contamination
- Category 1 (Clean Water): Sourced from sanitary supply lines, malfunctioning sinks, broken toilet tanks, or melting snow. While initially safe, Category 1 water degrades quickly into Category 2 if left untreated for more than 24 hours.
- Category 2 (Grey Water): Contains chemical, physical, or biological contamination capable of causing discomfort or illness. Common sources include washing machine overflows, dishwasher discharges, and sump pump failures.
- Category 3 (Black Water): Highly unsanitary water containing pathogenic agents, raw sewage, rising river floodwaters, or standing groundwater. Category 3 situations require intensive safety precautions, specialized containment, and the removal of porous items.
Classes of Water Intrusion
- Class 1: Slow evaporation rate; affects only a small portion of a room with low-porosity materials like concrete or tile.
- Class 2: Fast evaporation rate; covers an entire room and has saturated carpeting, cushions, and drywall up to 24 inches high.
- Class 3: Fastest evaporation rate; water often comes from overhead, saturating ceilings, walls, insulation, structural framing, and subfloors.
- Class 4: Deeply held moisture requiring specialty drying procedures, often affecting hardwood floors, plaster, masonry, or crawlspaces.
The 5-Phase Water Damage Restoration Process
Restoring a flooded property requires strict adherence to scientific drying principles rather than simple surface cleanup.
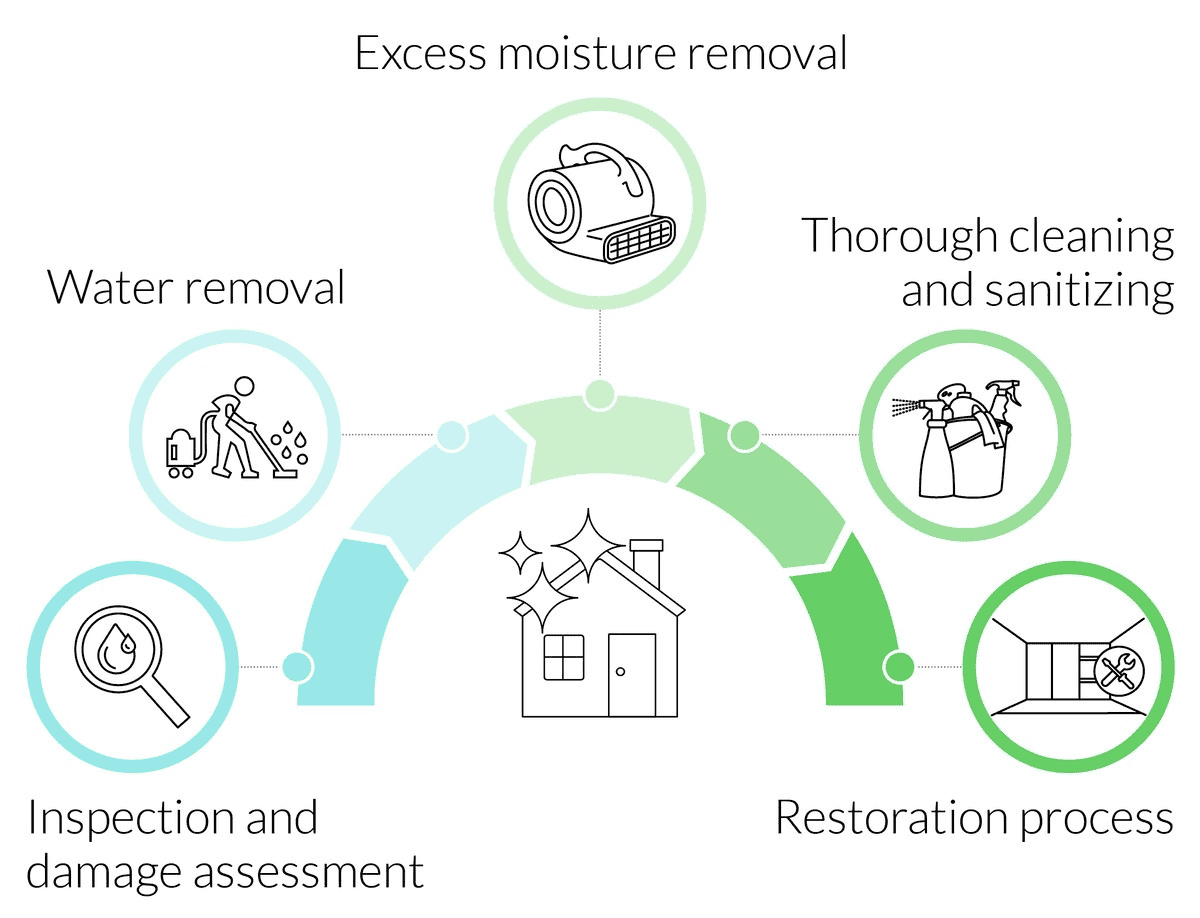
[Phase 1: Inspection] ➔ [Phase 2: Extraction] ➔ [Phase 3: Structural Drying] ➔ [Phase 4: Sanitization] ➔ [Phase 5: Reconstruction]
Phase 1: Comprehensive Inspection and Moisture Assessment
Every reliable project begins with systematic moisture mapping. Water travels along the path of least resistance, frequently pooling behind baseboards, beneath subflooring, and inside wall cavities without leaving immediately visible surface stains.
Restoration specialists deploy non-invasive diagnostic equipment to assess the full boundary of moisture:
- Infrared Thermal Imaging Cameras: Identify hidden temperature differentials created by evaporating water behind drywall and under tiled surfaces.
- Pin and Pinless Moisture Meters: Measure the exact moisture percentage inside wood framing, concrete slabs, and drywall compared to established dry standards.
- Thermo-Hygrometers: Track ambient relative humidity (RH), temperature, and grains per pound (GPP) of moisture in the air to design a balanced drying system.
During this stage, technicians also identify and isolate the source of water intrusion to prevent continuous flooding while compiling photographic documentation for property insurance claims.
Phase 2: Rapid Water Extraction
Standing water represents the single greatest threat to building materials. The second stage of the water damage restoration process focuses on removing bulk liquid as fast as possible to arrest the migration of moisture into adjacent rooms.
High-capacity extraction equipment removes hundreds of gallons of water in a fraction of the time conventional wet vacuums require. Industrial submersible pumps handle high-volume pooling in basements or lower levels, while heavy-duty ride-on or weighted extraction units draw water directly out of carpet pads and subflooring. Because extraction is hundreds of times more energy-efficient than mechanical evaporation, thorough extraction substantially shortens the drying timeline.
Property owners needing immediate mitigation can review professional water mitigation services to secure specialized extraction before secondary structural deterioration occurs.
Phase 3: Structural Drying and Dehumidification
Once surface water is cleared, significant moisture remains trapped inside porous structural elements like wall studs, floor joists, concrete, and drywall. Evaporating this bound moisture requires managed psychrometric principles the science of air, temperature, and humidity interaction.
Technicians install commercial-grade drying equipment in calculated ratios:
- Centrifugal Air Movers: Direct high-velocity airflow across floors, walls, and structural cavities to lift bound moisture off surfaces and into the surrounding air.
- Low-Grain Refrigerant (LGR) Dehumidifiers: Pull moisture-laden air across refrigerated coils, condensing water vapor into liquid and expelling hot, ultra-dry air back into the room.
- Desiccant Dehumidifiers: Used in dense materials or low-temperature environments to pull humidity levels down to near-zero grains per pound.
During this 3 to 5 day window, daily monitoring visits ensure that moisture levels are consistently dropping toward standard dry baselines.
Phase 4: Cleaning, Sanitizing, and Mold Remediation
Moisture intrusion creates an ideal habitat for airborne allergens, bacteria, and mold spores. According to the United States Environmental Protection Agency (EPA), mold spores can begin colonizing damp building materials within 24 to 48 hours of exposure.
To ensure the structure is safe for habitation:
- Non-salvageable porous items (saturated drywall, insulation, pad backing) are safely bagged and disposed of.
- Structural surfaces are treated with EPA-registered botanical or quaternary antimicrobial agents to neutralize mold spores, bacteria, and mildew.
- HEPA (High-Efficiency Particulate Air) air scrubbers run continuously to filter airborne particulates, dust, and micro-contaminants out of the indoor air column.
- Thermal fogging or hydroxyl generators neutralize persistent damp odors at the molecular level rather than merely masking them.
Phase 5: Structural Repair and Reconstruction
The final phase bridges the gap between water mitigation and full structural recovery. Water mitigation stops damage and removes moisture, while restoration repairs and rebuilds what was damaged or removed during remediation.
Depending on the severity of the initial incident, this stage may require:
- Hanging, taping, floating, and painting new drywall panels.
- Replacing subflooring, tile, engineered hardwood, or carpet installations.
- Re-installing baseboards, trim, cabinetry, and vanities.
- Inspecting and replacing compromised electrical wiring or plumbing fixtures.
Working with an experienced general contractor who provides complete water damage restoration ensures that structural rebuilding seamlessly follows drying without delays between separate subcontractors.
Factors That Influence the Restoration Timeline and Cost
No two water emergencies present identical challenges. Several variables dictate how long the restoration will take and the total investment required:
- Volume and Source of Water: A pinhole copper pipe leak contained within an hour requires far less labor and equipment than Category 3 storm water standing for two days.
- Material Porosity: Non-porous surfaces like glazed tile and sealed concrete dry rapidly. Porous items such as hardwood planks, plaster, and acoustic ceiling tiles take significantly longer to dry or must be replaced entirely.
- Accessibility: Water that migrates beneath shower pans, into multi-level ceilings, or throughout finished basements requires exploratory wall openings and specialized injectidry equipment.
- Insurance Coverage Details: Standard homeowners insurance policies generally cover sudden and accidental water discharges (such as a burst pipe), whereas overland flood damage requires a separate flood policy. Working with contractors who supply comprehensive moisture logs and line-item estimates accelerates claim settlements.
Protecting Your Property After Water Intrusion
Completing the water damage restoration process requires swift coordination, scientific drying equipment, and licensed reconstruction expertise. Addressing water intrusion in the first 24 to 48 hours dramatically lowers overall structural loss, reduces repair expenses, and safeguards indoor air quality.
When faced with water damage, partnering with an established general contractor guarantees that your property is thoroughly assessed, safely dried, and expertly rebuilt from foundation to finish.